


In this article, I'll present the notion of feature flags and how to implement them on GitLab based on the environment feature. There are several tools available on the market, but here I'll use Unleash in a go application.
What is the feature flag concept
Feature flag is a concept to try new features in your application in some environments, even in production with real users. Thanks to this concept, you can try several versions of a feature/website without redeploying it. As its name defined it, you define some flags in your application that you can enable or not and thus enable or not the associated code.
This concept is very often used on main e-commerce sites, such as Amazon, directly in production. By monitoring the activity and user behavior on the site, it is easier to determine which version of a feature is the most valuable for the company. For instance, in which case the percentage of users validating their cart is higher.
How does it work to determine when the flag is enabled or not?
There are several methods to determine when who will access which version, but the mostly used ones are:
Random: randomly pick a user (or a session) to display a version of a feature. This is quite basic and it's important to have the correct monitoring associated to identify the behaviors linked to feature versions, detect potential dysfunctioning due to a new version of a feature
User predetermined sublist: useful to provide early access to a subset of people like beta testers, V.I.P members, administrations or QA team
According to your maturity, you can use this concept in production to have real-life feedback or in QA to help a dedicated team to try several versions of features.
Implement it in your code
Now that we have an overview of it, let's implement this into a sample application written in go. I'll use Unleash open-source software to handle this. So first, we have to initialize it
func init() {
    err := unleash.Initialize(
        unleash.WithUrl("<url_to_unleash_configuration"),
        unleash.WithInstanceId("<instance_id>"),
        unleash.WithAppName("<environment_name>"),
        unleash.WithListener(&metricsInterface{}),
    )
    if err != nil {
        return
    }
}
And then, I implement features in the source code. It's as simple as an if
const vipFeature = "feature_vip"

func helloServer(w http.ResponseWriter, _ *http.Request) {
    if unleash.IsEnabled(vipFeature) {
        _, err := io.WriteString(w, "<h1>Hello special people ✨</h1>\n")
        if err != nil {
            return
        }
    } else {
        _, err := io.WriteString(w, "<h1>Hello, world! 🌍</h1>\n")
        if err != nil {
            return
        }
    }
}
Now let's configure and deploy it through GitLab!
Configure & test it on GitLab
Configuration
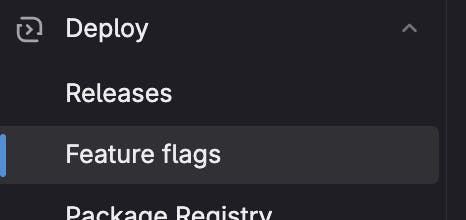
First I have to configure the features on GitLab. This can be done in GitLab menu entry Deploy > Feature flags
Then I retrieve information regarding the configuration to plug unleash with GitLab and my application

I can now configure my application with this information by updating the init function.
func init() {
    err := unleash.Initialize(
        unleash.WithUrl("https://gitlab.com/api/v4/feature_flags/unleash/123456789"),
        unleash.WithInstanceId("V_uKw7y4zLbLq..."),
        // Set to the running environment of your application
        unleash.WithAppName("main"),
        unleash.WithListener(&metricsInterface{}),
    )
    if err != nil {
        return
    }
}
And now, I configure my features. To show that we can have multiple flags on a single page, I update my source code to handle 2 feature flags (Implementation can probably be optimized 😅)
const vipFeature = "feature_vip"
const giftFeature = "feature_gift"

func helloServer(w http.ResponseWriter, _ *http.Request) {
    if unleash.IsEnabled(vipFeature) {
        _, err := io.WriteString(w, "<h1>Hello special people ✨</h1>\n")
        if err != nil {
            return
        }
    } else {
        _, err := io.WriteString(w, "<h1>Hello, world! 🌍</h1>\n")
        if err != nil {
            return
        }
    }

    if unleash.IsEnabled(giftFeature) {
        _, err := io.WriteString(w, "You have won a special gift 🎁\n")
        if err != nil {
            return
        }
    } else {
        _, err := io.WriteString(w, "Sorry no gift 😣\n")
        if err != nil {
            return
        }
    }
}
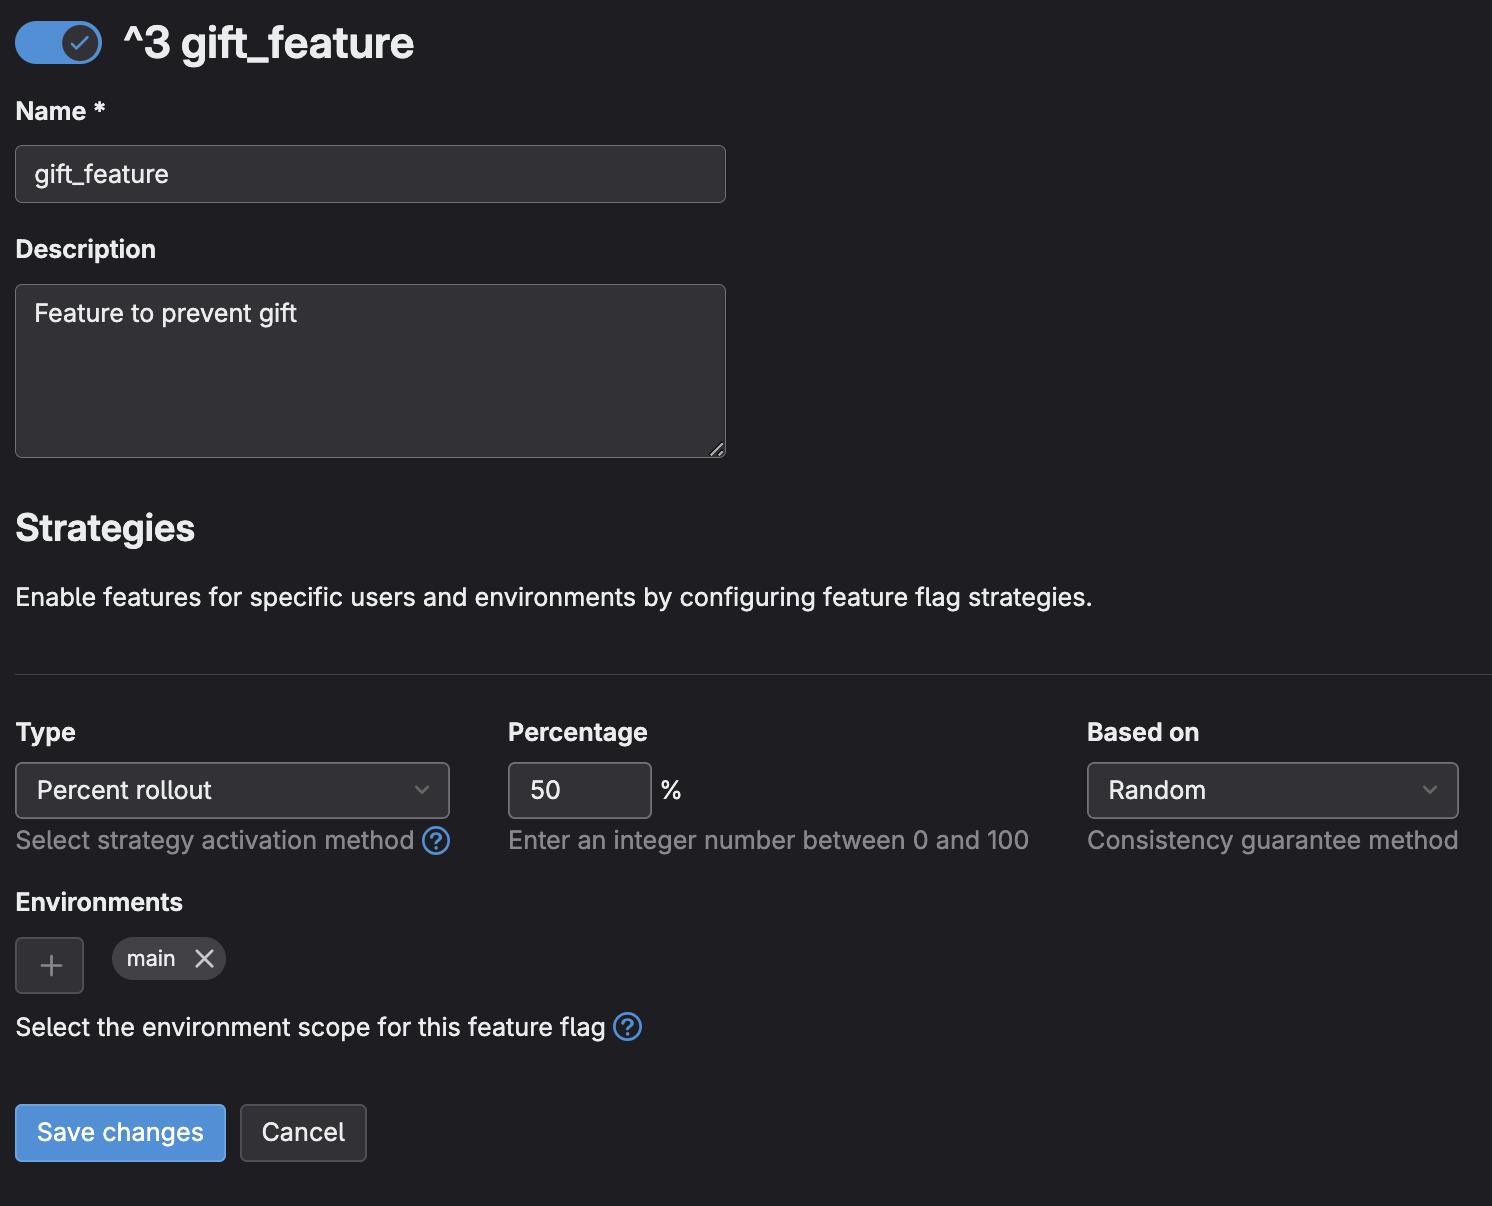
To configure a feature flag, in GitLab, click on New feature flag and setup the configuration

Here I chose to randomly enable the feature feature_vip for 20% of the page displays. And almost the same for the second feature_gift but for 50% of the visits.
Test
Now I can deploy the application as explained in a previous article with Helm and the environment feature of GitLab.
Let's try our features!

Conclusion
Feature flags pattern is a very interesting concept in modern applications to be able to retrieve information from feature impacts on end users but also to provide early access to special features.
Thanks to GitLab feature flag and environment management, this is really easy to set up on your application for tests or production purposes.
⚠️ But beware not to complexify too much your codebase with tons of flags. It's primary to maintain your flags park and to remove useless flags otherwise your codebase will become a mess and unmaintainable. It's quite important to have a continuous deployment process in place to be able to release often to take advantage of feature flags and to quite your application clean.
🙏 As usual thanks to OVHcloud to support me for this article by providing me with environments on their platform to test and illustrate.
At the time of this article, GitLab was in v16.1
Sources are available on gitlab.com.