Beautiful Pages on GitLab with mkdocs

- TechAdvocate
- DevSecOps / Cloud platform Lead Architect @ Sopra Steria
- Speaker @ Devoxx, Snowcamp, Breizhcamp, GitLab Connect and internally
- Co-Founder of Volcamp IT Conference @ Clermont-Fd (https://volcamp.io)
- GitLab Hero
GitLab have a nice feature to easily generate a static website from markdown files. It's called GitLab Pages. Even if it's a very useful feature for instance to share some technical documentation on a project, it can be quite painful to make it nice to use. Fortunately, mkdocs is here for the rescue 🛟
In this article, I'll explain how to set up mkdocs in your project and customize it with a cool material theme. I'll explain some main features of this theme.
Set up a first deployment with mkdocs
First, we will deploy a basic website with mkdocs. To do so, we need to create a mkdocs.yml file at the root level of your project:
site_name: 👽 Beautiful Pages with mkdocs
site_dir: 'public/'
docs_dir: 'docs'
The minimal configuration is to set up:
site_name which will be the site title
site_dir where mkdocs will generate the website files
docs_dir where the markdown files are located
We now create a simple index.md in docs
# 💫 A beautiful readme for a beautiful article 🗞️

This is a sample readme to show how to make cool GitLab pages with mkdocs.

## 🚀 First chapter

An inner chapter
We are ready to deploy it!
Now we create our .gitlab-ci.yml
stages:
  - deploy # mandatory name for the stage to GitLab detect it's a Pages deployment

# Pages
pages: # mandatory name for the job to GitLab detect it's a Pages deployment
  stage: deploy
  image: javanile/mkdocs # Image containing tools required for mkdocs
  script: mkdocs build
  artifacts:
    paths:
      - public # set public to be deploy
  needs: []
  only:
    - main # only update pages from main branch
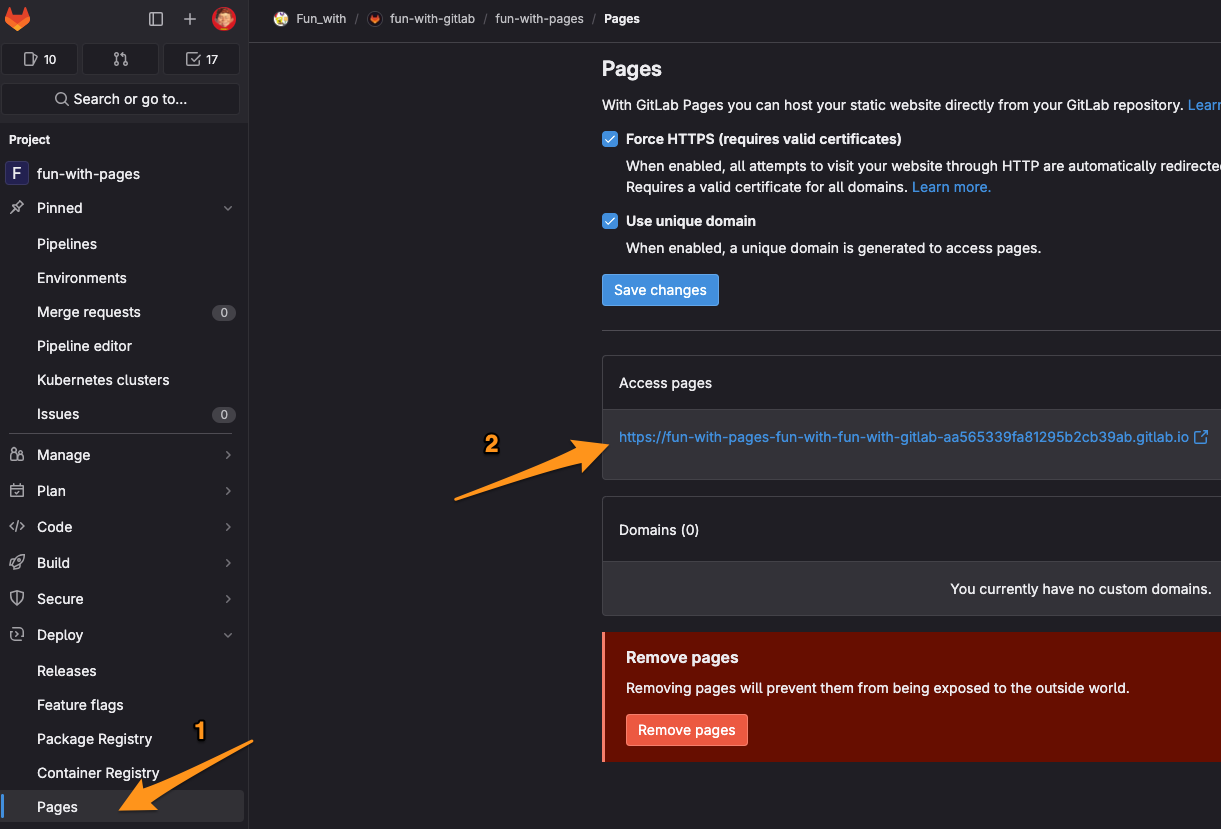
We can commit and it'll run the pipeline to deploy it. When pipeline is run successfully, it can navigate to our website. The URL can be found from Deploy > Pages entry in GitLab GUI.
Let's open our website ; it looks good 🤩

ℹ️ If you want to have your documentation files starting from root level of your project, you will have the following error when running the pipeline (or the mkdocs build locally)
$ mkdocs build
ERROR   -  Config value 'docs_dir': The 'docs_dir' should not be the parent directory of the config file. Use a child directory instead so that the 'docs_dir' is a sibling of the config file.
ERROR   -  Config value 'site_dir': The 'site_dir' should not be within the 'docs_dir' as this leads to the build directory being copied into itself and duplicate nested files in the 'site_dir'. (site_dir: '/builds/fun_with/fun-with-gitlab/fun-with-pages/public', docs_dir: '/builds/fun_with/fun-with-gitlab/fun-with-pages')
Aborted with 2 configuration errors!
It's because by default, mkdocs doesn't support that its configuration file is in the same folder as the documentation. Hopefully there is a plugin to fix this: same-dir. We need to add it in the mkdocs.yml
site_name: 👽 Beautiful Pages with mkdocs
site_dir: 'public/'
docs_dir: '.'

plugins:
  - same-dir
Manage the navigation
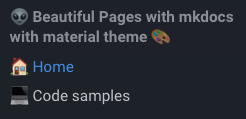
Now that we have a first version of our website, we may want to structure it a little bit. For instance, we have some code samples in a specific folder. In the mkdocs.yml file, we can a nav part to define the entries we'll have in the navigation bar. Here, I just have my home page and a Code Sample page. I'm hiding the folder layer.
nav:
  - 🏠 Home: 'index.md'
  - 💻 Code samples: 'code_samples/index.md'
Pimp your site
Also, we can add some information regarding our project, this can be useful when you publish your site and want to share information regarding the repository or your social contact
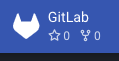
To specify the repository url, you can add repo_url in mkdocs.yml and also pick the icon for your repo
repo_url: https://gitlab.com/fun_with/fun-with-gitlab/fun-with-pages

theme:
  ...
  icon:
    repo: fontawesome/brands/gitlab
Automatically, a new badge in the header
You can also add your social contacts in the footer. Just add an extra part in the mkdocs.yml
extra:
  social:
    - icon: fontawesome/brands/twitter
      link: https://twitter.com/yodamad03
    - icon: fontawesome/brands/gitlab
      link: https://gitlab.com/yodamad
    - icon: fontawesome/brands/linkedin
      link: https://www.linkedin.com/in/matthieu-vincent-ab25064/
    - icon: fontawesome/brands/github
      link: https://github.com/yodamad
    - icon: fontawesome/brands/docker
      link: https://hub.docker.com/r/yodamad
Automatically links are inserted in the footer

Make this material beautiful
This is a good, but we can make it nicer because by default it's a quite basic CSS. And then appears mkdocs-material which will help us to make it look better. Just set the theme name to material in mkdocs.yml
site_name: 👽 Beautiful Pages with mkdocs with material theme 🎨
site_dir: 'public/'
docs_dir: '.'

plugins:
  - same-dir

theme:
  name: material
and update the job to use the appropriated image including the tools necessary
stages:
  - deploy

# Pages
pages:
  stage: deploy
  image: squidfunk/mkdocs-material # Change image here
  before_script: pip install mkdocs-same-dir
  script: mkdocs build
  artifacts:
    paths:
      - public
  needs: []
  only:
    - main
Once pipeline is done, we can see that our site has a brand new look

Let's do some make up
mkdocs-material has plenty of options and are quite well documented : https://squidfunk.github.io/mkdocs-material/
But here are the ones that can be useful when building a tech site.
Dark / Light themes switch
Of course, being able to have a dark theme is some kind of mandatory feature 😅 But some prefer the light one, with mkdocs-material it's super easy to add the switch option. Just add a palette part in your theme in the mkdocs.yml
theme:
...
  palette:
    # Palette toggle for light mode
    - scheme: default
      toggle:
        icon: material/brightness-7
        name: Switch to dark mode
    # Palette toggle for dark mode
    - scheme: slate
      toggle:
        icon: material/brightness-4
        name: Switch to light mode
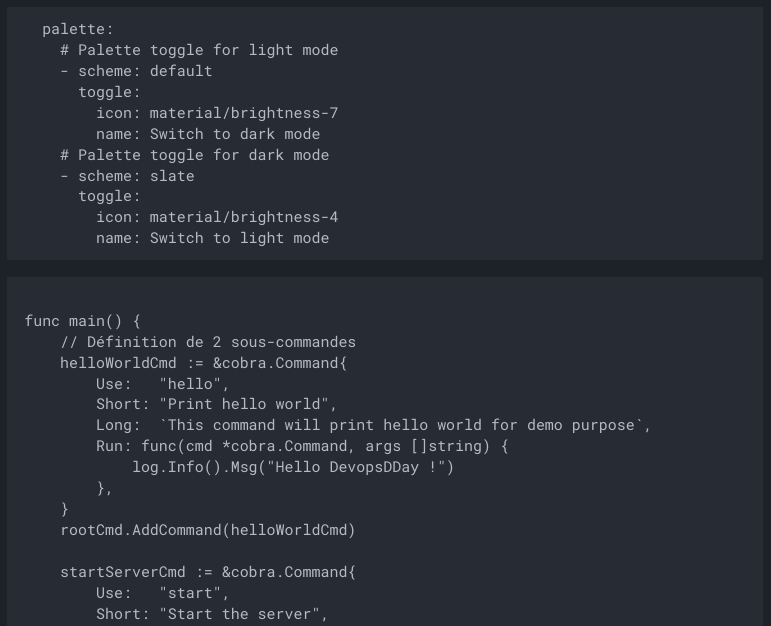
Once deployed, a new button is available in the header to easily switch between themes.

Code blocks
In a tech website, there are very often some code snippets/samples. This is natively supported by markdown and mkdocs :
but this is quite dull and gray. We can enable code highlighting by adding some extensions in mkdocs.yml
markdown_extensions:
  # For code highlightning
  - pymdownx.highlight:
      anchor_linenums: true
      line_spans: __span
      pygments_lang_class: true
  - pymdownx.inlinehilite
  - pymdownx.snippets
  - pymdownx.superfences
With these parameters, our code becomes more readable

Ease usage of code samples
Also, it can be useful to ease the copy of our sample (for instance for a workshop, or a tutorial). We can do the old select mouse selection or add a nice button to copy code block content easily. For this, we just need to enable a new feature in mkdocs.yml
theme:
  features:
    ...
    - content.code.copy
Automatically, for each code block we'll have a button to copy content available

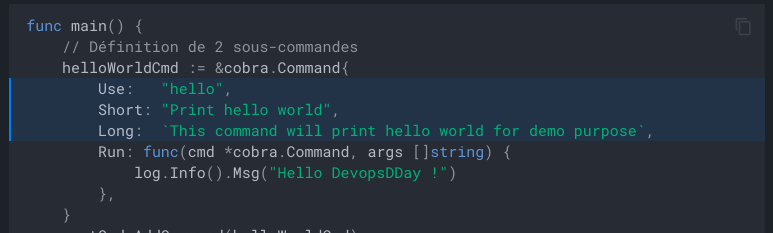
It can also be interesting to highlight specific lines in a sample to demonstrate something. This is added in the definition of the code block into the .md file with the parameter hl_lines. It can be:
a single line : hl_lines="1"
a set of lines : hl_lines="1 3 5"
a block of lines : hl_lines="1-3"
a set of blocks : hl_lines="1-3 7-10"
```go hl_lines="4-6 14-16"
    // Définition de 2 sous-commandes
    helloWorldCmd := &cobra.Command{
    ...
```
Automatically, lines will be highlighted
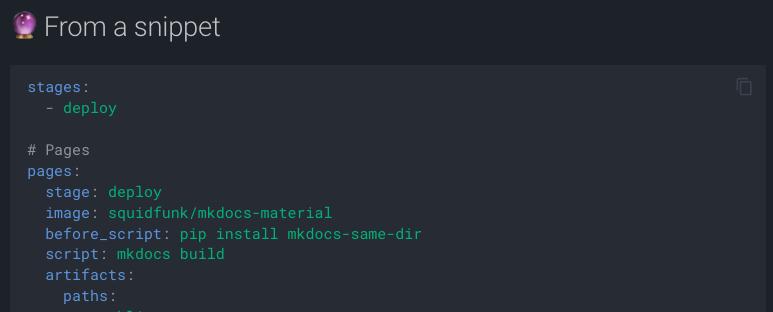
Snippets
In addition to code blocks, we can include some snippets from real files. This avoid to duplicate code and to have some desynchronization between the sample we want to show in the site and the real file. We can include files from within the repository.
ℹ️ Path is based on root path, not on the docs folder path.
```yaml
--8<-- ".gitlab-ci.yml"
```
Admonition
One of my favorite feature is the admonition (I don't know from where this name comes from 😅). With this, you can easily structure your documentation and help the readers to get the important parts.
To enable them, you need to enable some features in mkdocs.yml:
markdown_extensions:
  # For admonitions
  - admonition
  - pymdownx.details
  - pymdownx.superfences
There are 2 possibilities : either you can have a opened one (!!!) or a collapsible (???)
!!! warning
    Beware of the wolf 🐺

??? bug
    this a 🐞
There are 12 types of admonitions with a given color & icon (full list).
Here is a sample of the possibilities
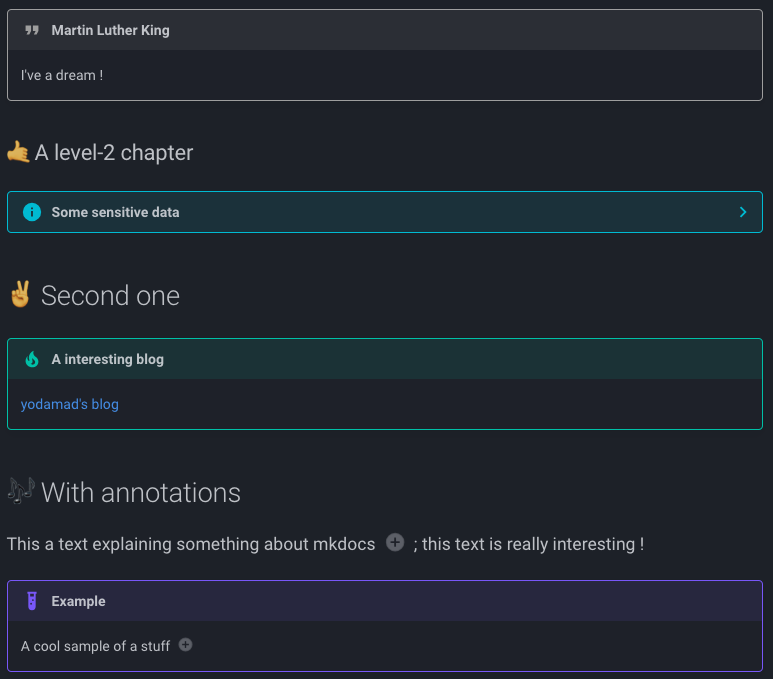
Annotations
Another useful feature to add explanation without overloading the samples with comments is the annotation one. With this, you can easily add some comment on a text or sentence. With this mechanism, mkdocs display an icon (by default +, but it can be overridden) and when clicking on it, the content of the annotation is visible.
To enable them, you need to add some extensions
markdown_extensions:
  ...
  # For annotations
  - attr_list
  - md_in_html
  - pymdownx.superfences
It can be applied in most of the blocks:
In text
You just need to add the { .annotate } after the text containing annotation:
This a text explaining something about mkdocs (1) ; this text is really interesting
{ .annotate }

1.  🔗 [mkdocs](https://www.mkdocs.org/) is an opensource project

In code block
For this case, you need to add another feature in mkdocs.yml
theme:
...
  features:
    ...
    - content.code.annotate
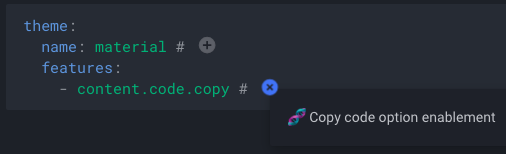
For code blocks, you just need to add a comment character (according to with langage you're displaying, in # for a yaml sample)
```yaml
theme:
  name: material # (1)
  features:
    - content.code.copy # (2)
```

1. 🎨 Use the material theme
2. 🤏 Enable the copy code feature in code blocks
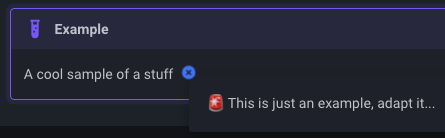
In admonition
For this one, you just need to add the annotate attribute to admonition:
!!! example annotate
    A cool sample of a stuff (1)

1.  🚨 This is just an example, adapt it...
Conclusion
💫 So, as you can see, with mkdocs & mkdocs-material, it's really simple to publish a cool website for your technical documentation, your project or a workshop. This article uses the default configuration and styles, but almost everything is customizable in both tools to make your site as you want 🎨
💻 The complete sample is available on my GitLab repository and the site is available at this URL
🆓 Feel free to copy / fork it as it is to start using the tool


